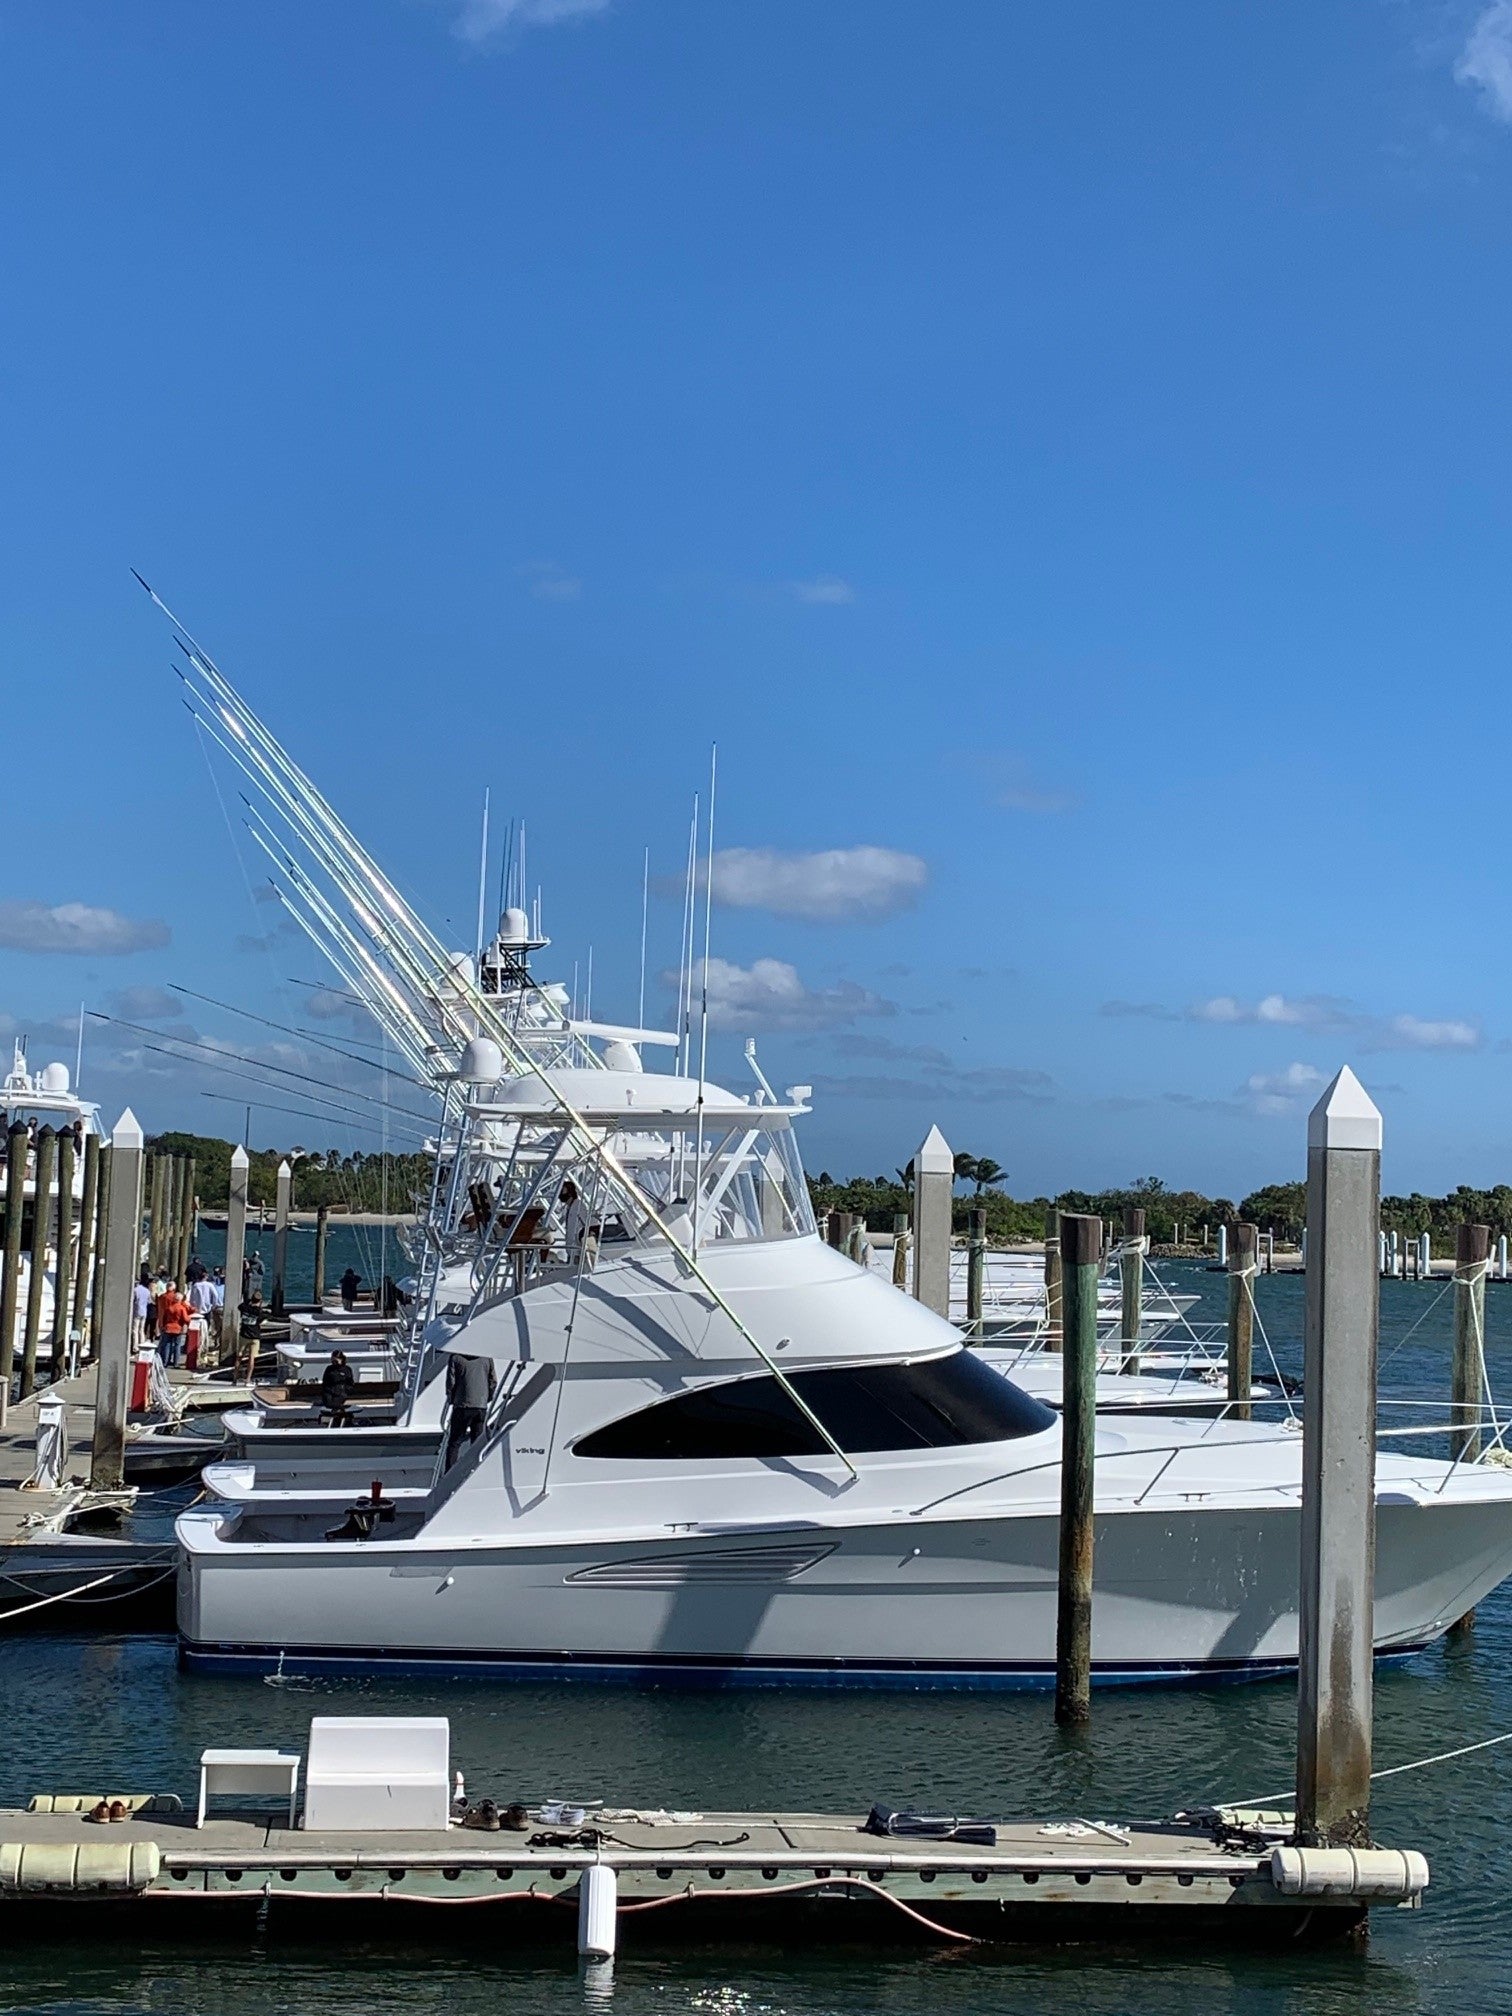
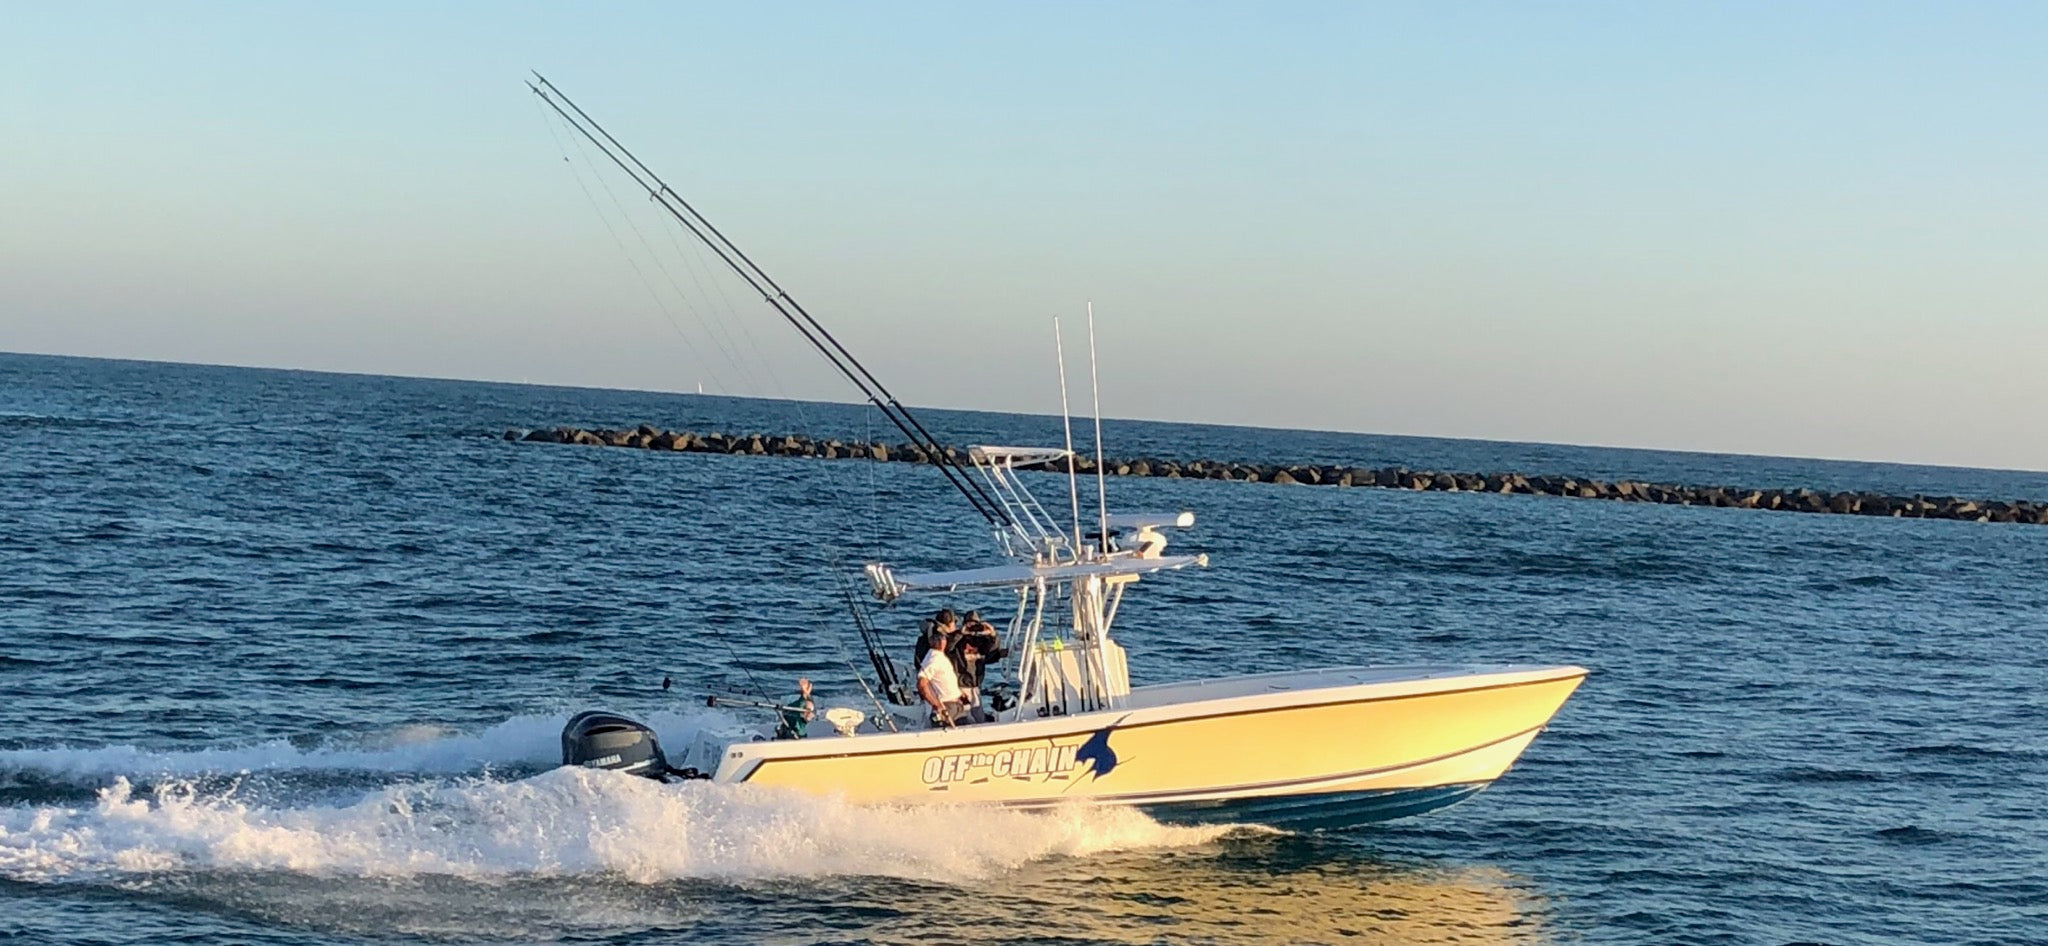
Rupp Outriggers are a vital tool for any fishing enthusiast, allowing your baits to cover a wider swath of ocean by increasing the spread of your fishing lines. To get the most out of your Rupp Outriggers, it's crucial to add outrigger tuning to your routine boat maintenance schedule, this will ensure that their cable tension is appropriately adjusted. In this blog post, we'll provide you with step-by-step instructions on how to adjust the cable tension on your Rupp Outriggers. For a video tutorial watch here.

After your outriggers are removed from the boat you can reference the steps outlined below:
Step 1: Locate the Tension Adjustment Barrel on the Outrigger Cable
The first step in adjusting the cable tension on your Rupp Outriggers is to locate the tension adjustment barrel. This small barrel-shaped piece is near one end of the outrigger cable.

Step 2: Loosen the Set Screw on the Barrel
Once you've located the tension adjustment barrel, use a wrench to loosen the set screw on the barrel. Hold the opposite end of the turnbuckle stationary so the cable doesn't spin.

Step 3: Turn the Male threaded part of the Barrel Clockwise or Counterclockwise to Adjust Tension.
Next, turn the barrel clockwise or counterclockwise to adjust the tension on the outrigger cable. If you have a tension gauge, you can reference the tension gauge found here, to measure the tension as you adjust the barrel. Otherwise, adjust it by feel. Turn the barrel in small increments and test the tension frequently until you achieve the desired tension. It is important to keep each cable grouping at approximately the same tightness.
Step 4: Tighten the Set Screw on the Barrel
Once you've reached the desired tension, use the wrench to tighten the set screw on the barrel securely. This step is essential to prevent the barrel from loosening while in use.
Step 5: Repeat for Each Outrigger cable on Your Boat
Repeat the above steps for each outrigger on your boat, adjusting the tension on both the port and starboard sides to ensure that the outriggers are balanced. Slight bends in the outrigger tubes will be adjusted out with proper cable tension.
Step: 6: Check for missing bushings
During outrigger tuning it is also recommened that you inspect for missing or damaged plastic bushings. Damaged or missing bushings will create loose attachment points and cause unnecessary wear. Replacment bushing kits can be purchased online. Click here for product link.
Conclusion:
Adjusting the cable tension on your Rupp Outriggers is essential to prevent damage and maintain their optimal performance. By following these simple steps, you can ensure that your outriggers are properly adjusted and ready for your next fishing adventure. Remember to check and adjust the cable tension regularly, and consult the owner's manual or contact Rupp Marine if you have any questions.
Related links:
Adjusting Outrigger Tension - Bayliss Boatworks
Video Link :
Outrigger Tuning with Coastal Rigging Florida


